VRayHairInfoTex Setup
This page provides a tutorial for using the Hair Information Map with V-Ray Hair Next Material and hair geometry out of the Ornatrix Plugin.
Overview
This tutorial will cover the standard setup for using the VRayHairInfoTex texture node to add variation to a hair system out of Ornatrix. For more information on the node itself, please see the VRayHairInfoTex page.
The VRayHairInfoTex is set up by connecting it to the diffuse color of a VRayHairNextMtl, with the VRayHairInfoTex set up to use an output of Distance Along Strand or Random By Strand.
This tutorial also works with the free demo version of the Ornatrix Plugin.

Tutorial Assets
To download the files used in this tutorial, please click on the button below. The Ornatrix Plugin will need to be installed in order to work with the geometry.
Tutorial Steps
In this tutorial, we will create color variations over the hair using the VRayHairNextMtl and VRayHairInfoTex.
Apply VRayHairNextMtl to hair system
-
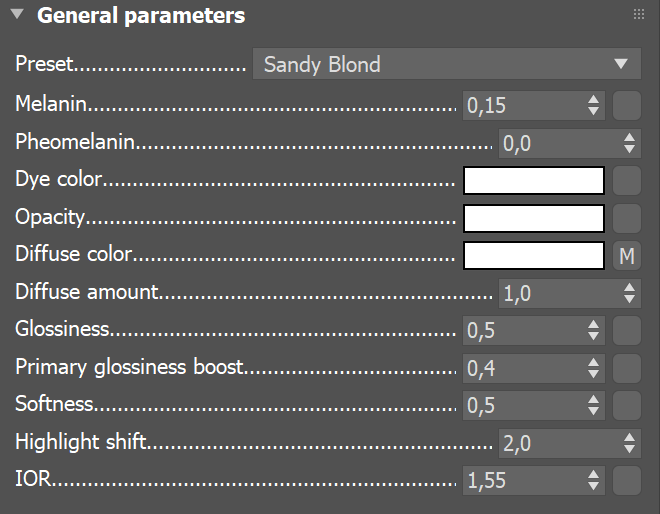
Start by adding a VRayHairNextMtl to the hair object and set the preset to use the Sandy Blond preset as a basis.
-
Do a test rendering to see the result.
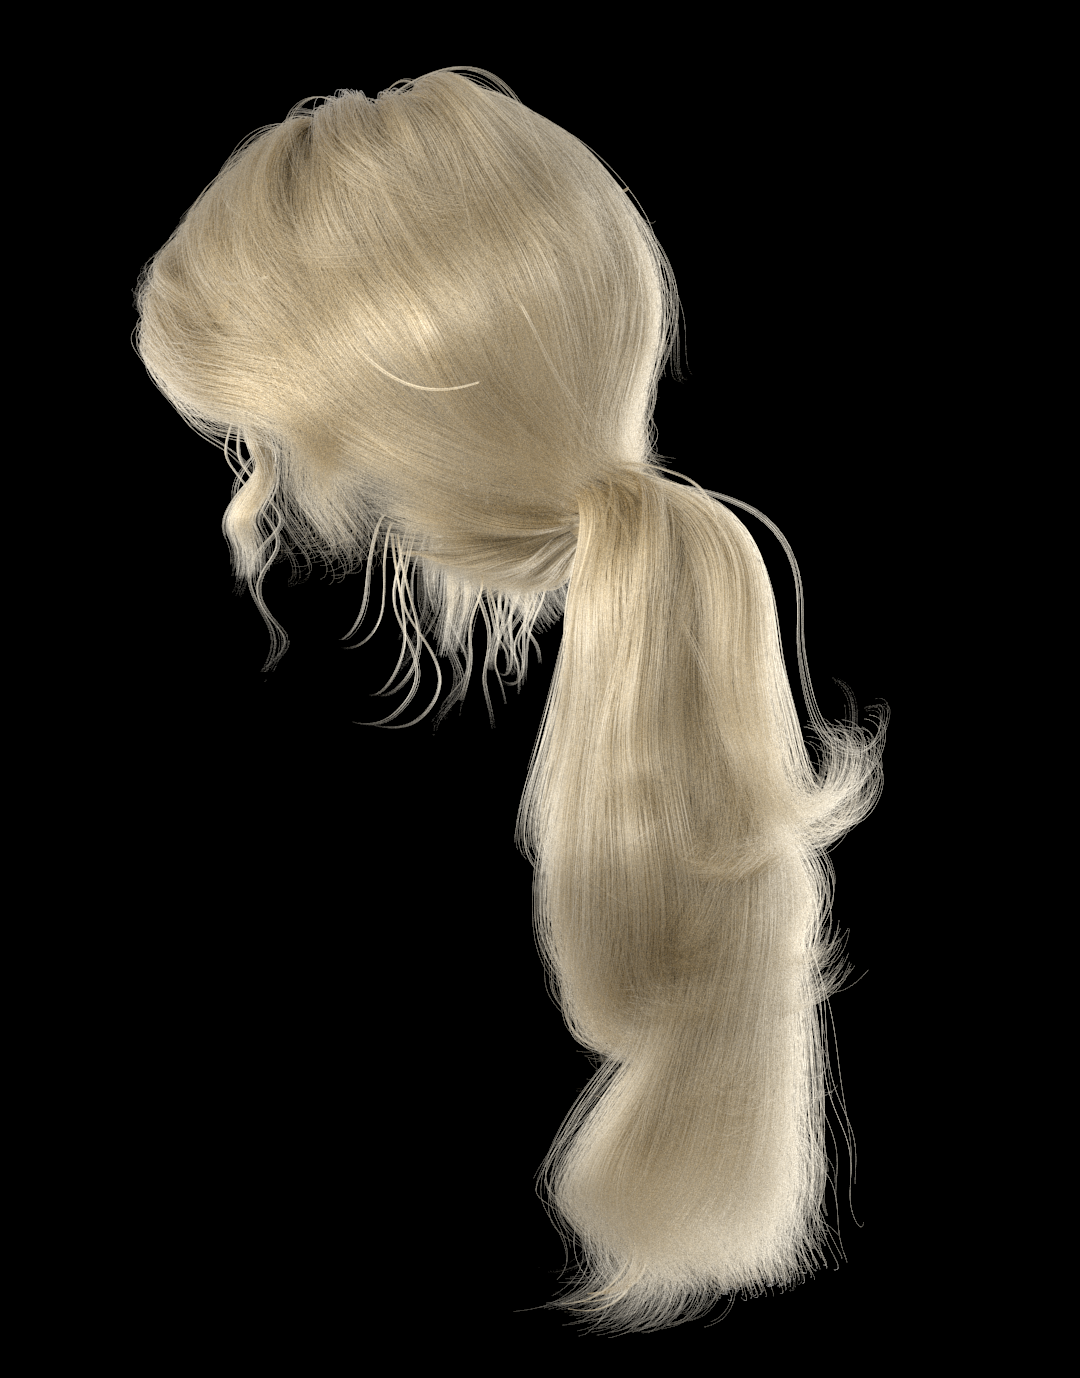
Resulting Render
Set up Nodes
-
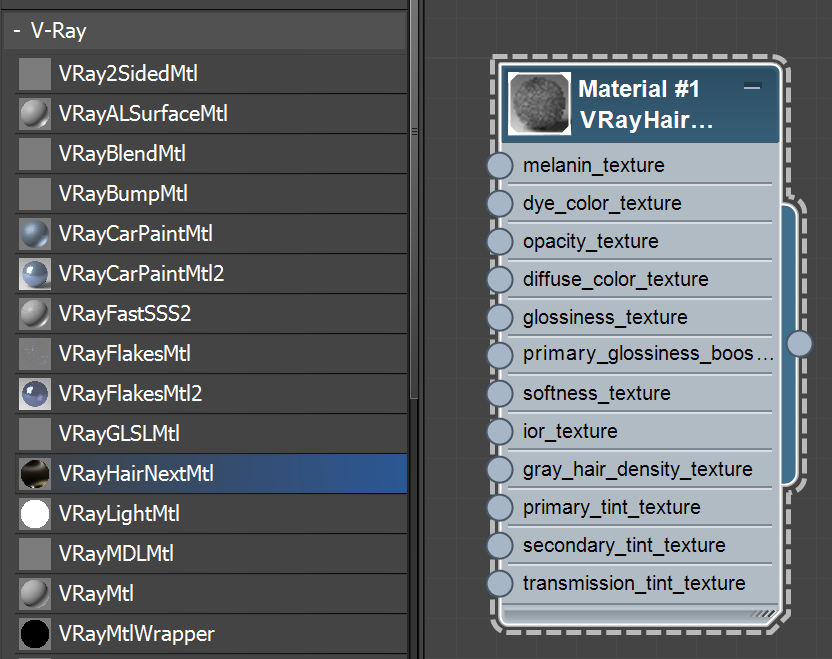
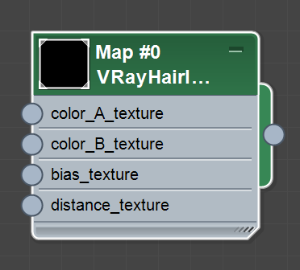
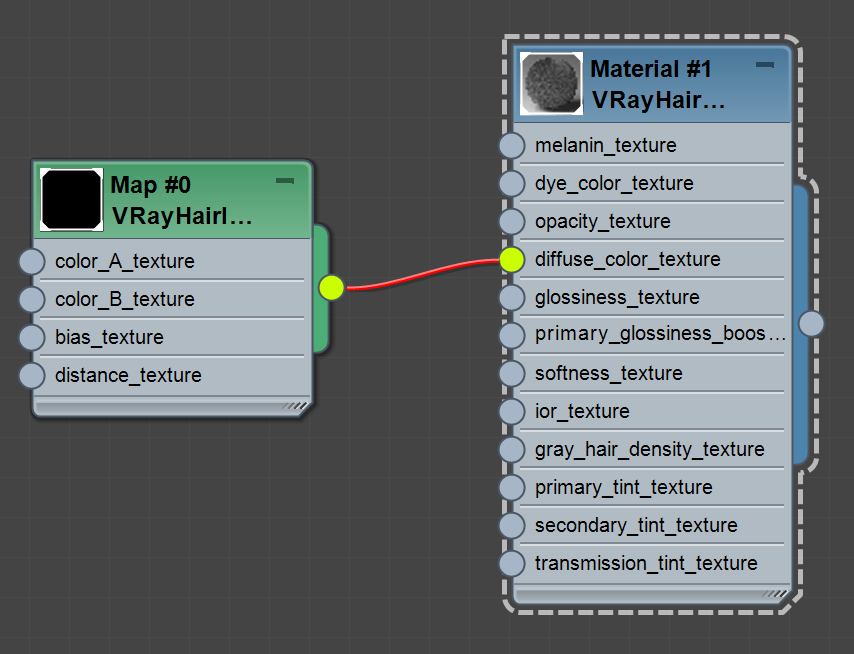
Create a VRayHairInfoTex node.
-
Connect the output of the VRayHairInfoTex node to the diffuse_color_texture multiplier of the VRayHairNextMtl.
-
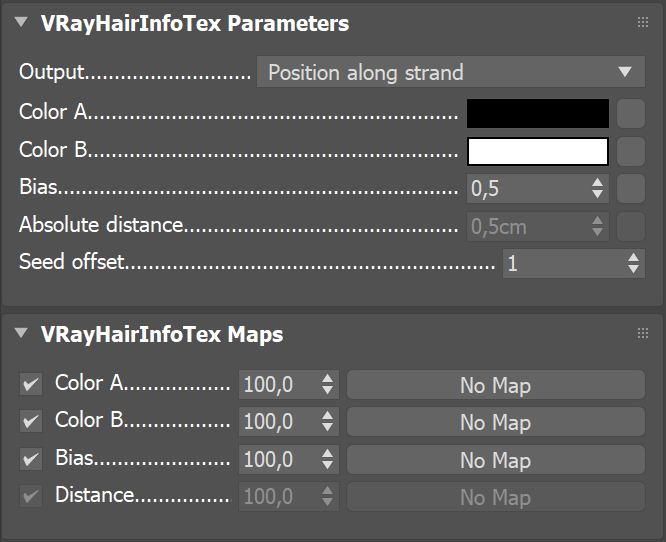
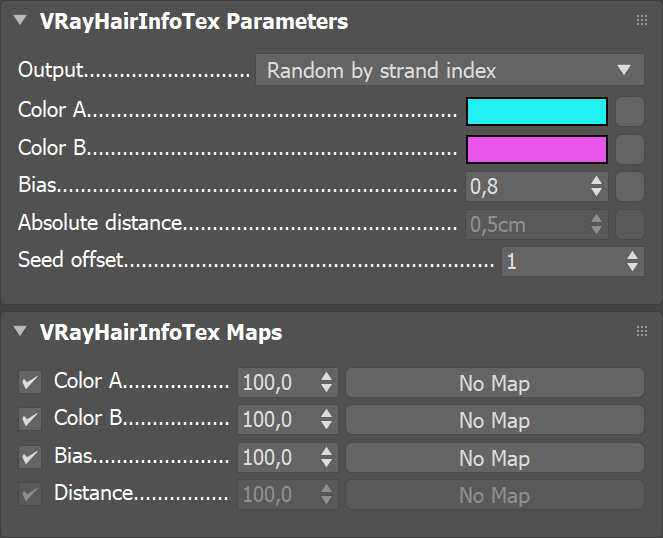
In the VRayHairInfoTex parameters, either the Position along strand or Random by strand index parameter can be selected for the node's output.
Color the Hair
-
Open the VRayHairInfoTex and set color A and color B to turquoise and pink respectively, as shown below. The Random by strand index option allows different strands to receive different colors, as opposed to changing the color along the strand of each hair when using Position along strand.
-
Experiment with different colors and bias values in the VRayHairInfoTex to achieve the desired look.
Examples
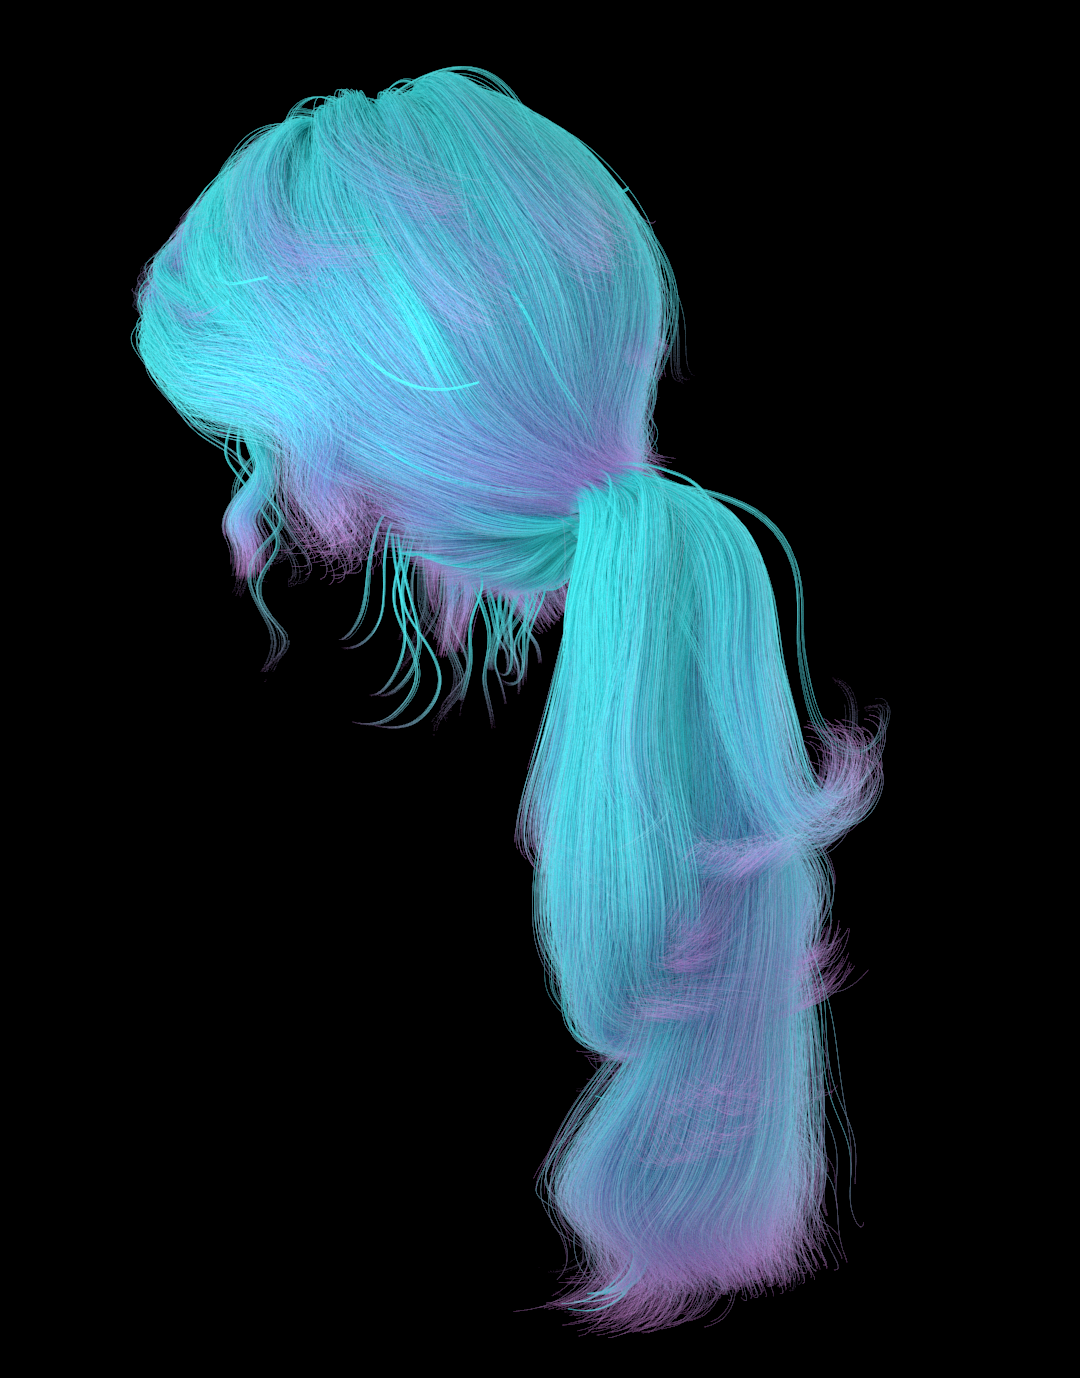
Random by strand index
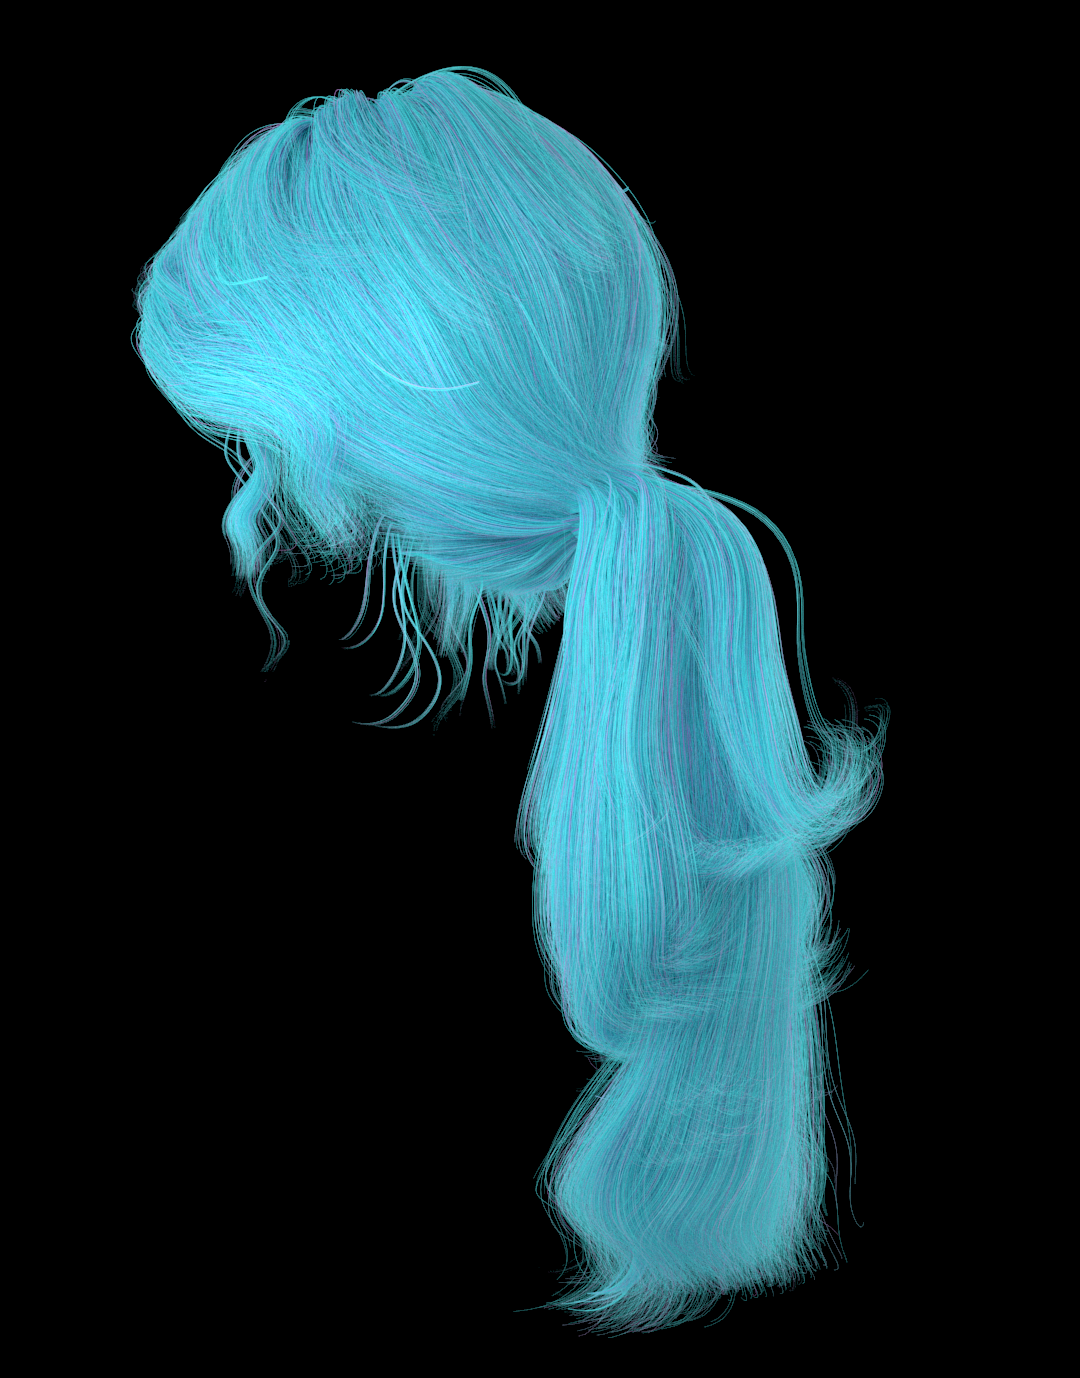
Bias: 0.1

Bias: 0.5

Bias: 0.8
Position along strand
Bias: 0.1
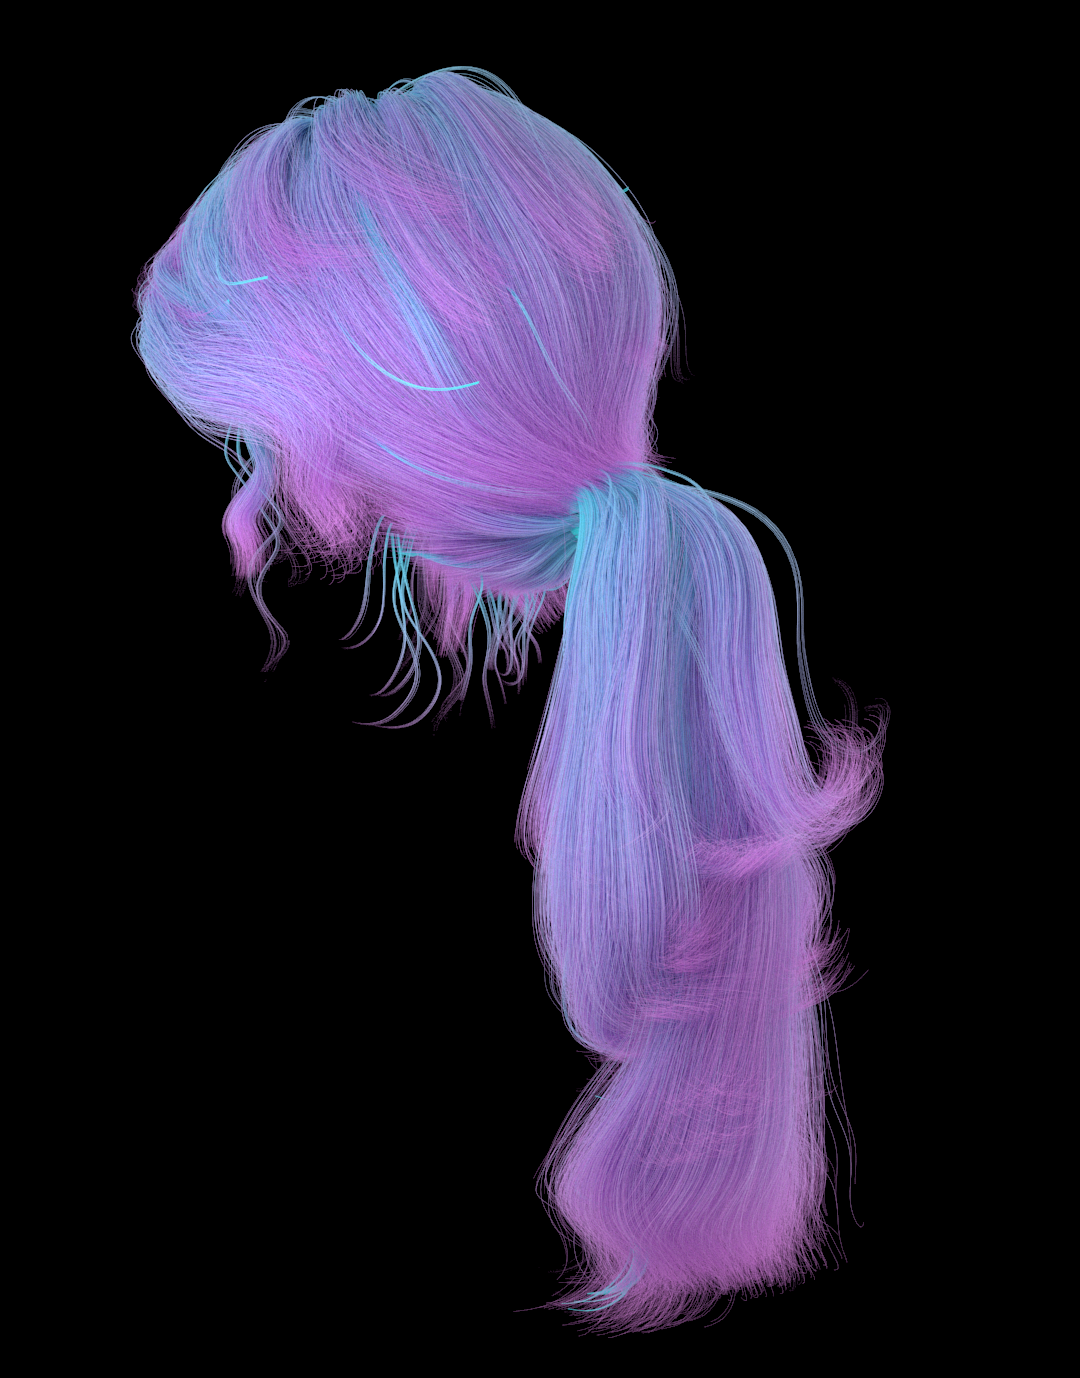
Bias: 0.5
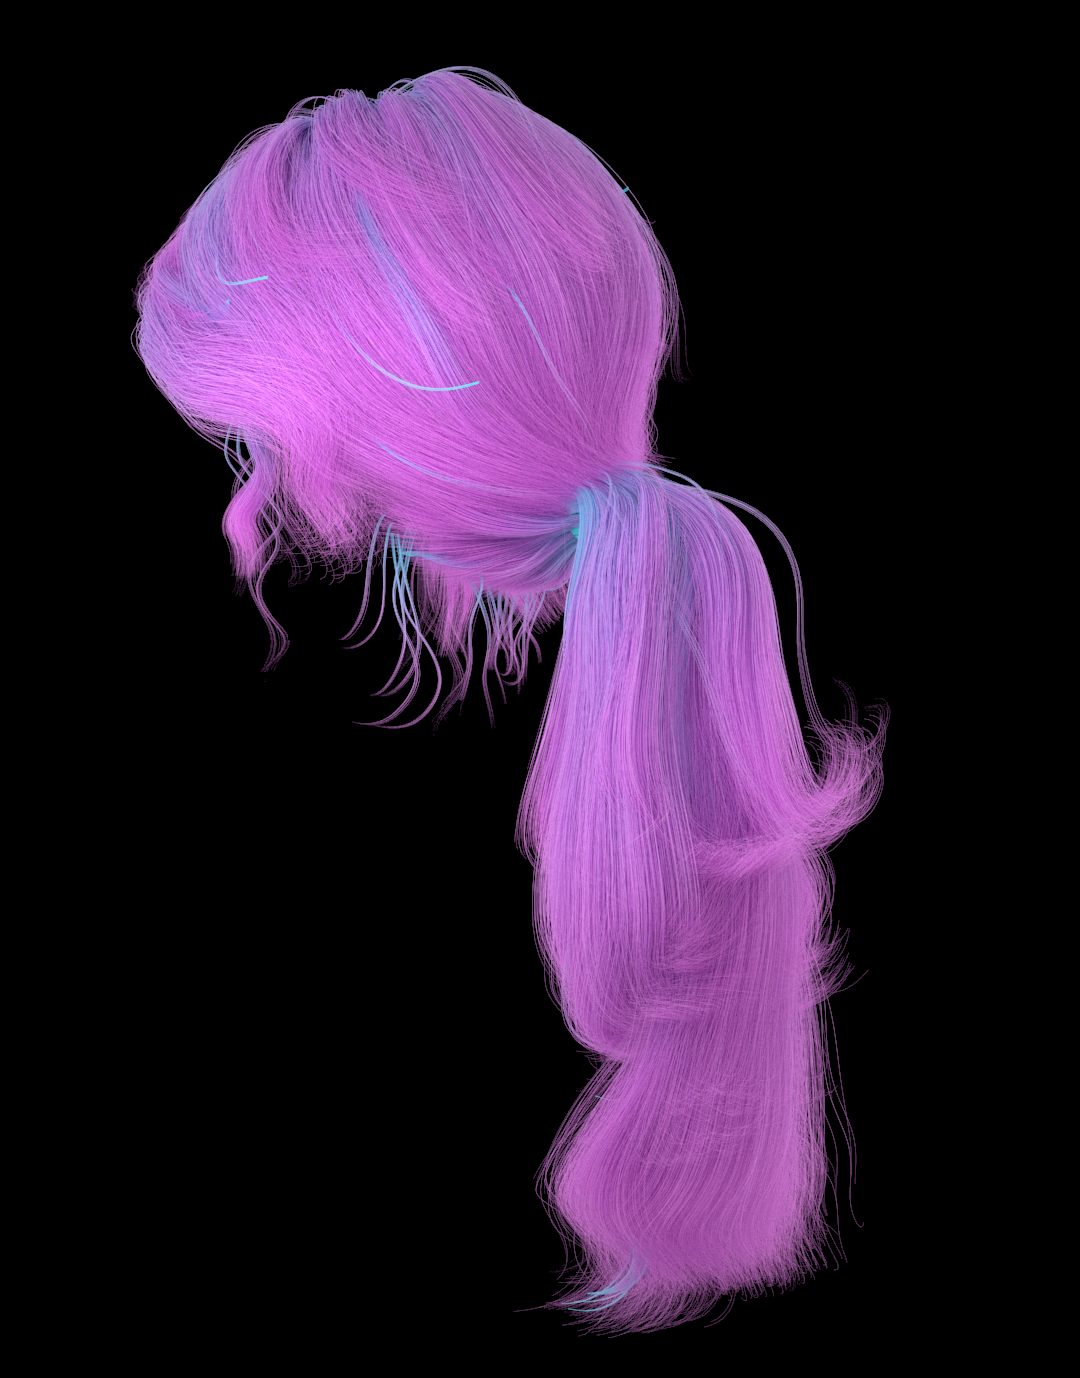
Bias: 0.8
Real-world hair or fur does not have a diffuse component. Although the diffuse parameter allows for some artistic control, for realistic results it is best to disable it by leaving the diffuse amount at 0.
In the examples above, we have linked the VRayHairInfoTex node to the diffuse_color_texture slot of the VRayHairNextMtl only for a representative purpose as it makes the effect of the texture more prominent.