Chaos Cloud
This page provides information about submitting render jobs to Chaos Cloud from V-Ray for 3ds Max.
|
OverviewSubmitting render jobs to Chaos Cloud can be done easily and directly from V-Ray for 3ds Max's interface. This page walks you through the steps of doing so. Chaos Cloud requires the installation of the Chaos Cloud Client Application. For more information, please visit the Installation of Chaos Cloud Client page. If you add a new version of a job you have already submitted, its upload will be much quicker than the initial upload. Chaos Cloud compares every new job to the existing ones, and if there is a match the client app will upload only the changes. This is useful when you make a new iteration of an existing scene and is why it's recommended to keep your jobs in Chaos Cloud while you are still working on them.
Submitting Render JobsV-Ray for 3ds Max provides built-in integration with Chaos Cloud, allowing you to submit render jobs to the cloud directly from 3ds Max, using the dedicated Render in Chaos Cloud button. The button is located on the Toolbar.
Clicking on the
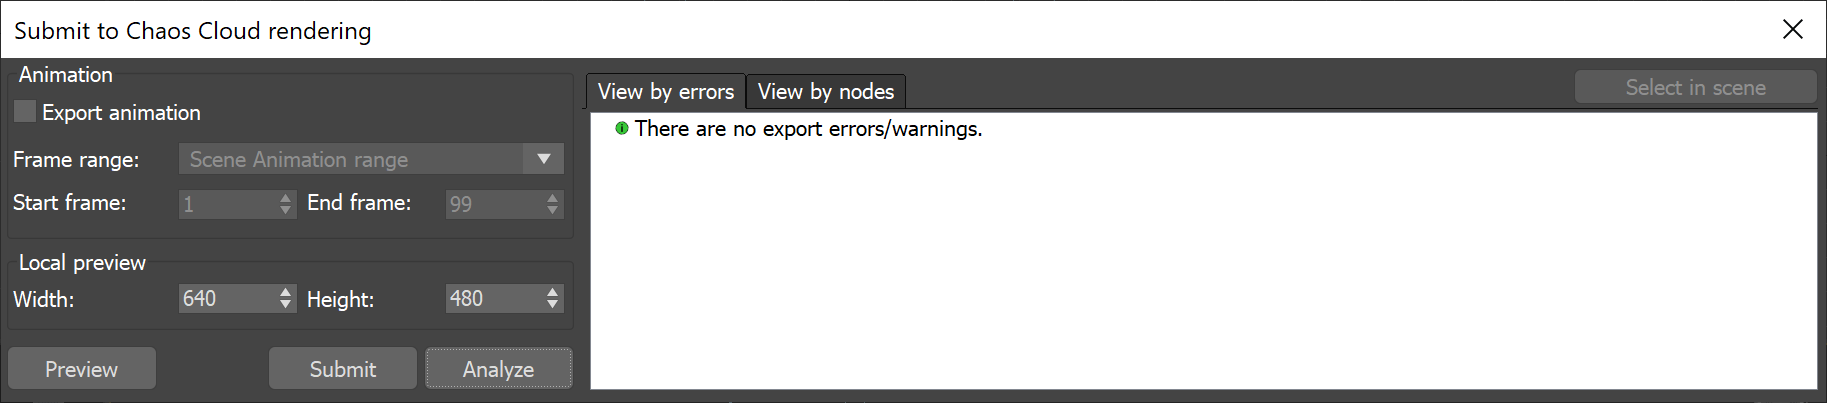
Export animation – Enables the export of animation to Chaos Cloud. Frame range – Specifies how to obtain the frame range. Frame range – Specifies a Start frame and End frame manually. Scene Animation range – Exports the animation frames already set in the 3ds Max scene. Preview – Renders a local preview with V-Ray Standalone which is the closest approximation to the render output from Chaos Cloud. The Width and Height parameters of the Local preview only affect the V-Ray Standalone preview. Analyze – Pressing the Analyze button exports the scene as a .vrscene to check for possible errors, which (if any) are displayed in the output panel on the right. For more information, see the Scene Analyzer page. Once the scene is successfully analyzed, you have to finalize some of the settings of the render job before it starts rendering in Chaos Cloud.
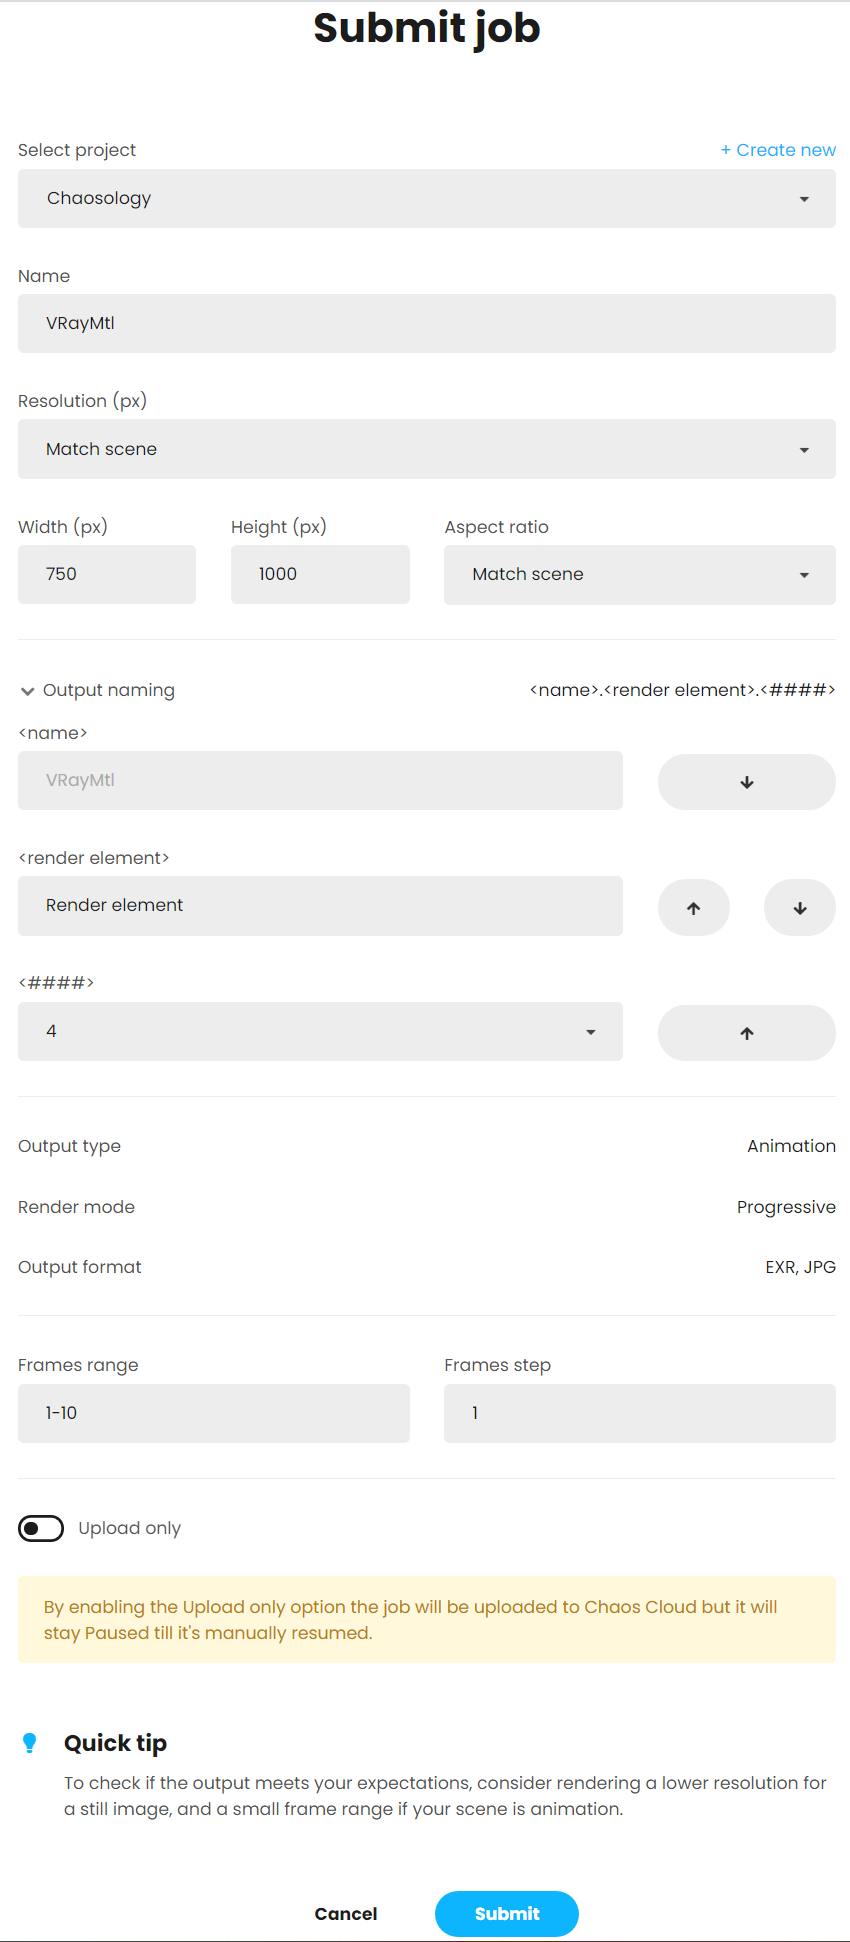
Submitting an animation
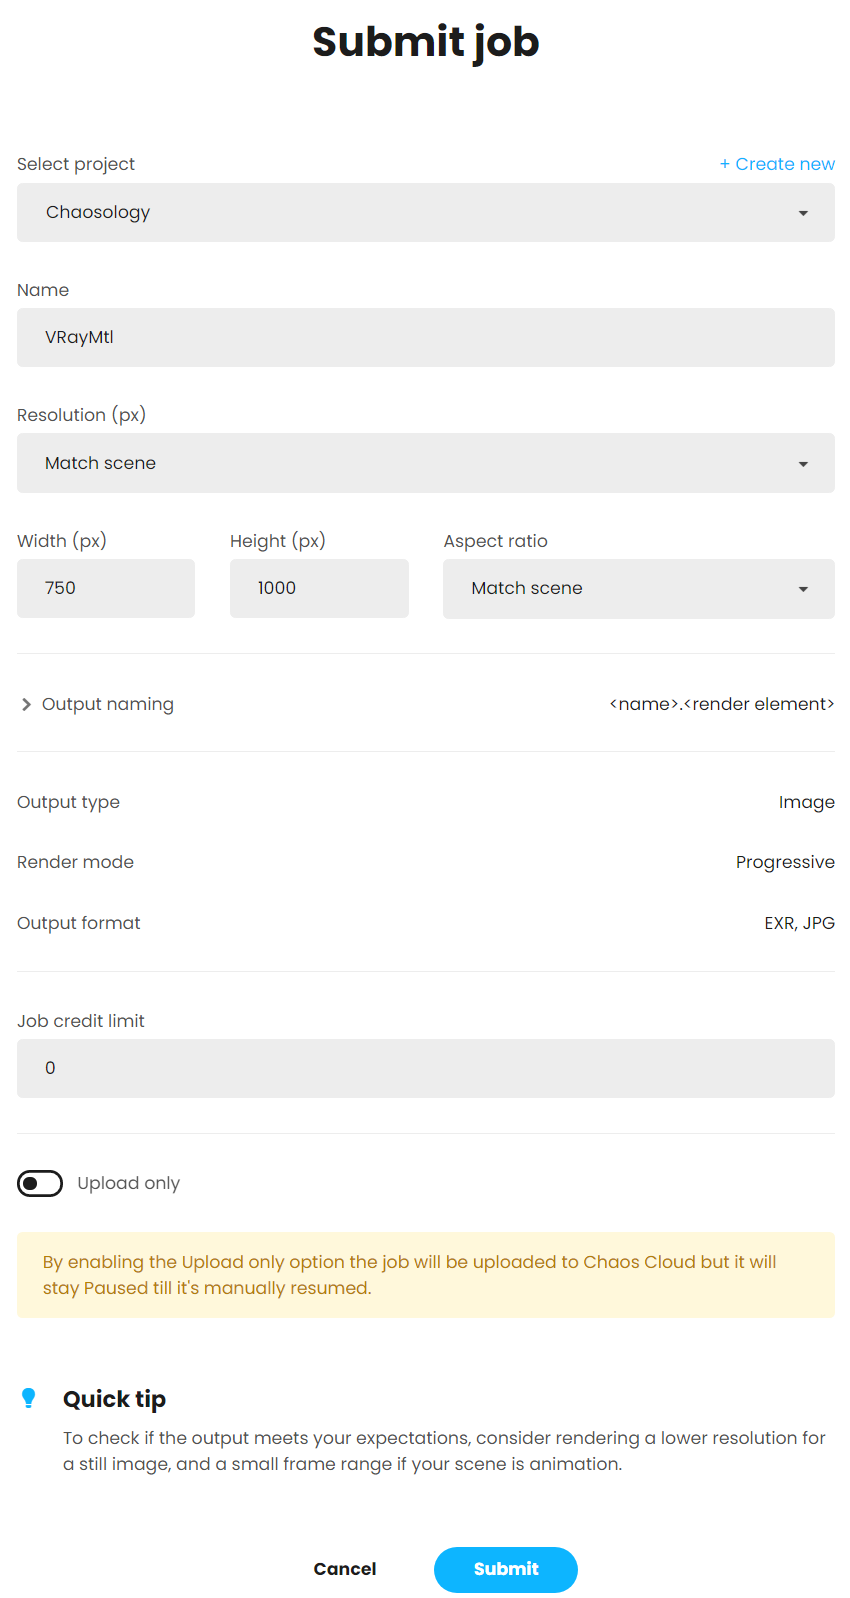
Submitting a still image
The output image types that you are able to download by rendering in Chaos Cloud are JPG and the file type you have specified in the settings of your scene. These settings are customized in the 3D application you use for designing your scene. If you don’t specify anything in the 3D application, Chaos Cloud generates an EXR image beside the JPG one. If you have enabled the Include additional JPG output toggle in the Options page, Chaos Cloud generates an additional high-quality JPG file for your output at no extra cost. * When submitting a render job requesting TIFF and/or TGA images as a result, the results might be unexpected as not all TIFF and TGA settings are exported to Chaos Cloud. Note that the supported output image formats by Chaos Cloud regardless of the host application are the following: *.png, *.bmp, *.tga, *.hdr, *.sgi, *.rgb, *.rgba, *.jpg, *.jpeg, *.exr, *.pic, *.tif, *.tiff and *.vrimg. The cost for rendering a job can be limited by using the Job Credit Limit setting. For more information, see the Credit Limit section. By enabling the Upload only option, the job is uploaded to Chaos Cloud, but it stays Paused until manually resumed.
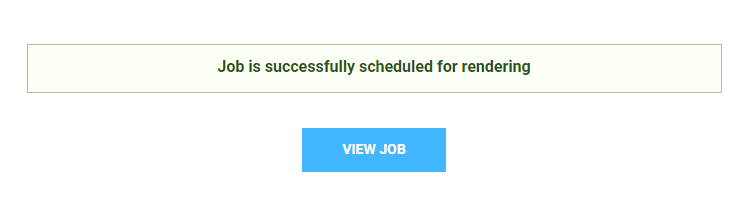
When ready, click the Submit button. When you are presented with the following message your render job is submitted successfully and it will start rendering in the cloud.
Clicking on View Job redirects you to the Projects tab of Chaos Cloud. There you can monitor the status of your render jobs, download them, organize them in projects, resubmit, or delete them. For more detailed information on these topics, see the Managing render jobs in Chaos Cloud page.
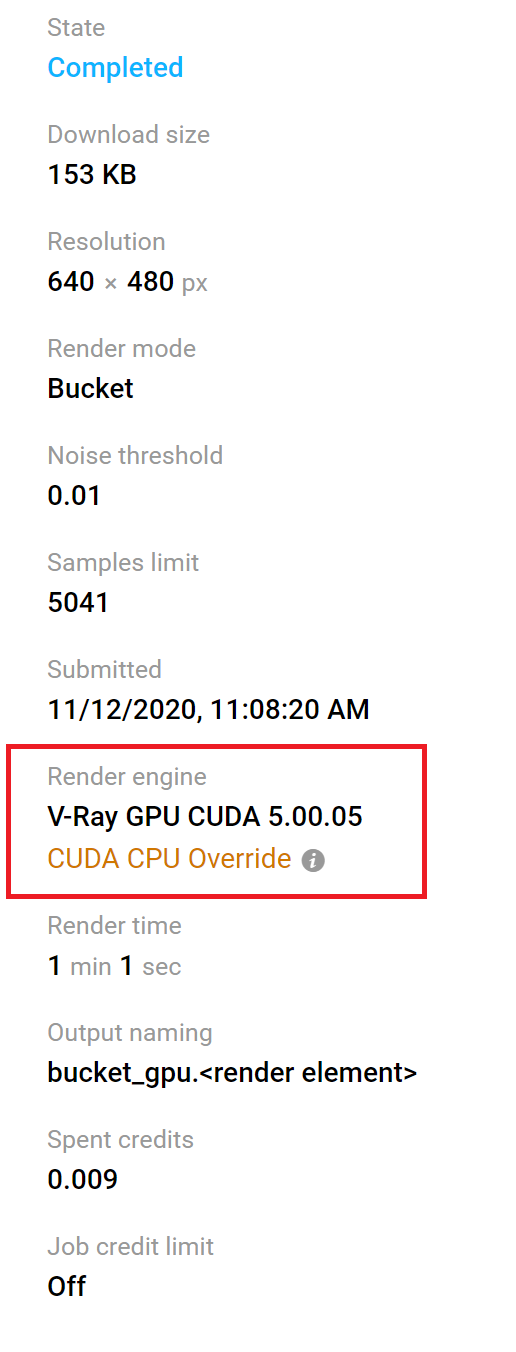
If there are free resources in the cloud, Chaos Cloud will start rendering your job immediately. If there are no free resources, your job will join a queue and will start rendering automatically when resources become available. Known IssuesWhen the Include additional JPG output option is disabled, this is not reflected in the Submit and Clone job screens. This does not mean that the option is still active. This is a known issue which will be fixed. Render Engine OverridesWhen rendering a V-Ray GPU job the CUDA CPU Override option allows you to override the render engine to render with CUDA on CPU only. This can be useful when:
When Chaos Cloud detects that there is no GPU hardware available, it shows a warning which asks you whether you want to wait for a GPU hardware and gives you an option to use another command which:
When the job is rendered, you can see whether it is a V-Ray GPU or a V-Ray job in the Job Details. If it is a V-Ray GPU job, Chaos Cloud shows whether it has rendered only on CPU. Output Naming ConventionUpon job submission, you can choose the naming convention of the output file(s). You can find the following options in the Output naming panel: <name> – Specifies the main name of the output. <render element> – Specifies the position of the render element(s) in the naming convention, if there are such. <###> – Specifies the padding of the frame's number. This option is available only for animated jobs. Using the arrows, you can move the position of each name component to customize the output name(s).
Alternatively, render jobs can also be submitted through the Standalone Chaos Cloud Application and any command-line interface. For more information, see Submitting render jobs to Chaos Cloud. |